How to Install Open Source Zimbra Mail Server (ZCS 8.8.10) on CentOS 7
How to Install Open Source Zimbra Mail Server (ZCS 8.8.10) on CentOS 7
Mail Server is one of the important and critical Server for any organization as most of business communication done via emails only. In Open source world there are couple of free email server but Zimbra is one of the leading mail servers. Zimbra Mail Server a.k.a ZCS (Zimbra Collaboration Suite) comes in two versions, Open Source and enterprise version.
Mail Server is one of the important and critical Server for any organization as most of business communication done via emails only. In Open source world there are couple of free email server but Zimbra is one of the leading mail servers. Zimbra Mail Server a.k.a ZCS (Zimbra Collaboration Suite) comes in two versions, Open Source and enterprise version.
Prerequisites of Zimbra Mail Server (ZCS)
- Minimal CentOS 7
- 8 GB RAM
- At least 5 GB Free Space on /opt
- FQDN (Fully Qualified Domain Name), in my case it is “mail.linuxtechi.com”
- A & MX record for your Server
In this article we will demonstrate how to install Open Source ZCS 8.8.10 on a CentOS 7.
- Minimal CentOS 7
- 8 GB RAM
- At least 5 GB Free Space on /opt
- FQDN (Fully Qualified Domain Name), in my case it is “mail.linuxtechi.com”
- A & MX record for your Server
In this article we will demonstrate how to install Open Source ZCS 8.8.10 on a CentOS 7.
Step:1) Login to CentOS 7 and apply updates.
Login to your CentOS 7 Server and apply the latest updates using following yum command and then reboot,
After the reboot, set the hostname of your server, in my case I am setting it as “mail.linuxtechi.com”
Add the following lines in /etc/hosts file,
After configuring the hostname, verify the A and MX is configure for your domain using dig command,
Step:2) Install Zimbra dependencies using yum
Run the below command to install Zimbra / ZCS dependencies
Run the below command to install Zimbra / ZCS dependencies
Step:3) Download latest version of Zimbra (ZCS 8.8.10) using wget command
Create a folder with the name “zimbra”
Use below wget command to download the latest version of ZCS 8.8.10 from the terminal,
Create a folder with the name “zimbra”
Use below wget command to download the latest version of ZCS 8.8.10 from the terminal,
Step:4 Install Zimbra / ZCS 8.8.10
Extract the downloaded tgz file of ZCS 8.8.10 using the beneath tar command
Go to extracted folder and run the install script,
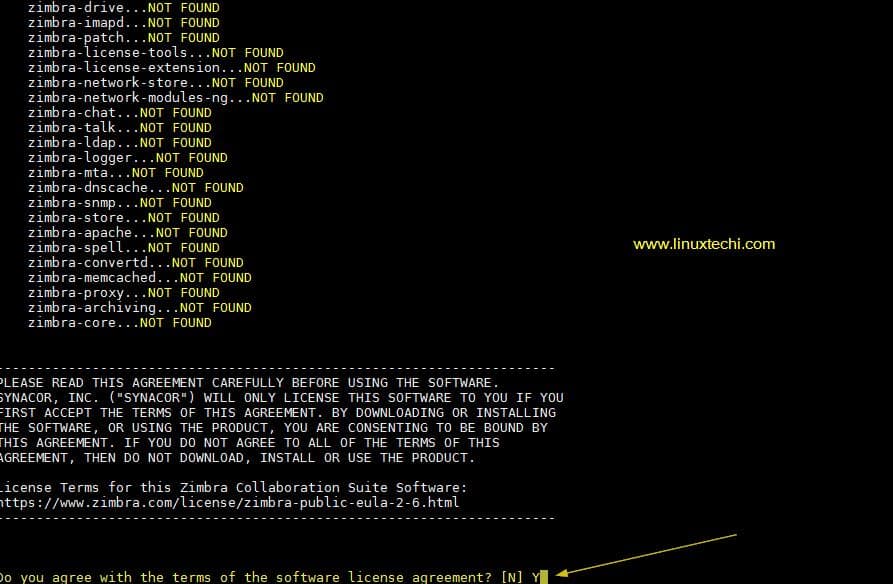
Once we run above install script then we will get text-based installation wizard, to Accept the license, press Y
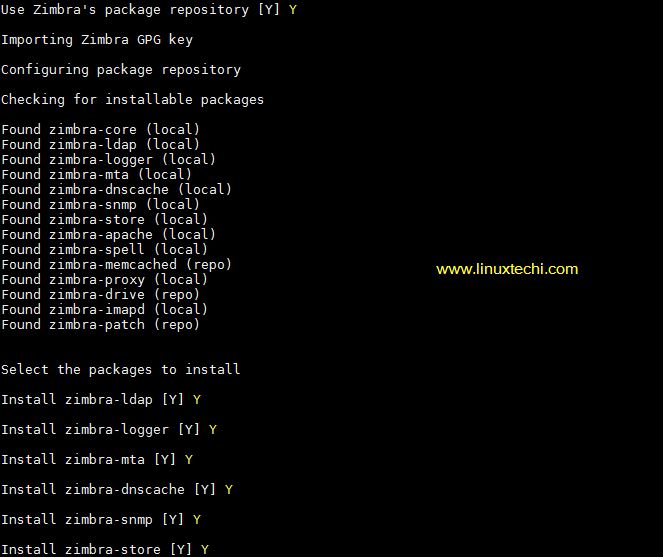
Now Configure the Zimbra package repository and select the all Zimbra Components to install.
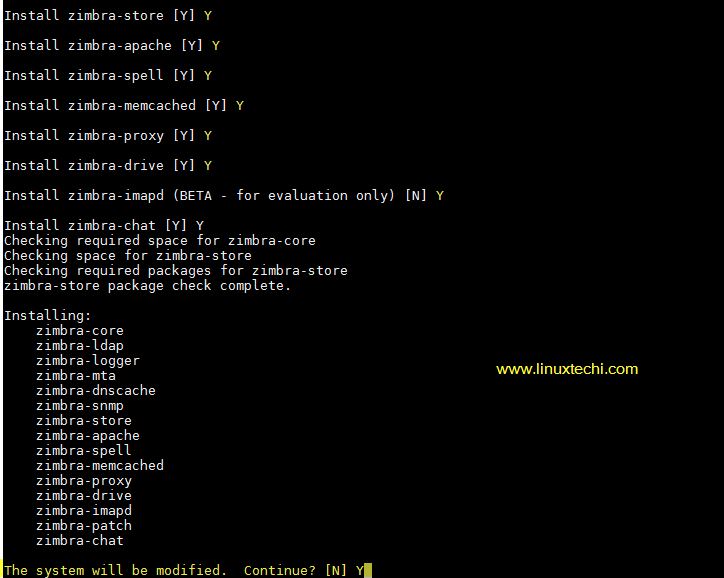
Press Y to modify the System,
After pressing Y, it will download the Zimbra related packages and it can take time depending upon on your internet speed.
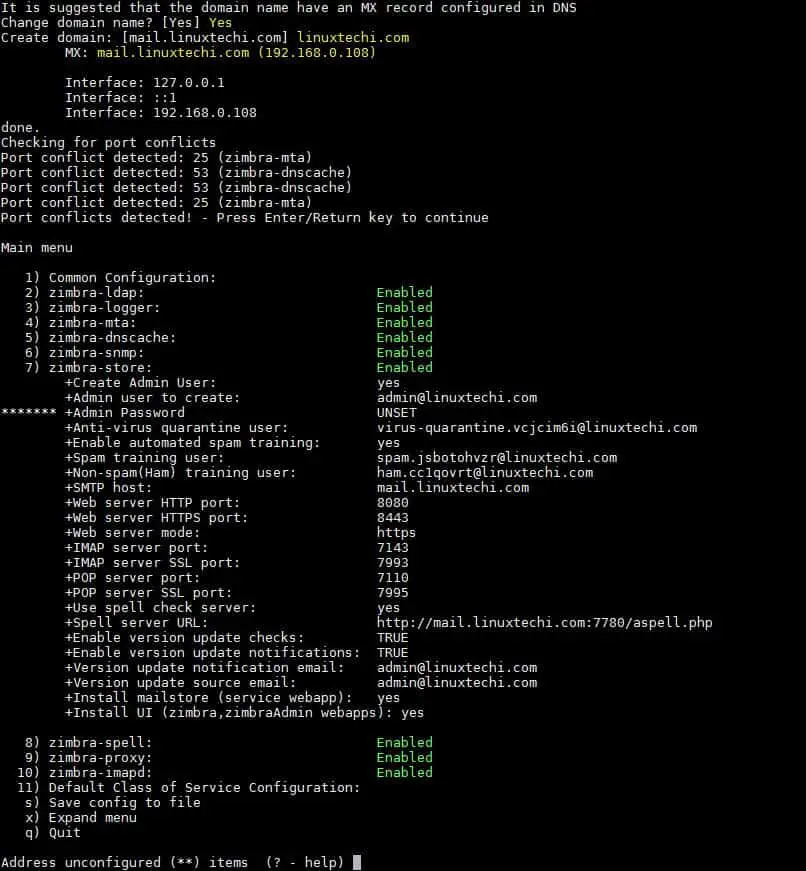
Once all the Zimbra packages are installed in the backend then we will get the below window,
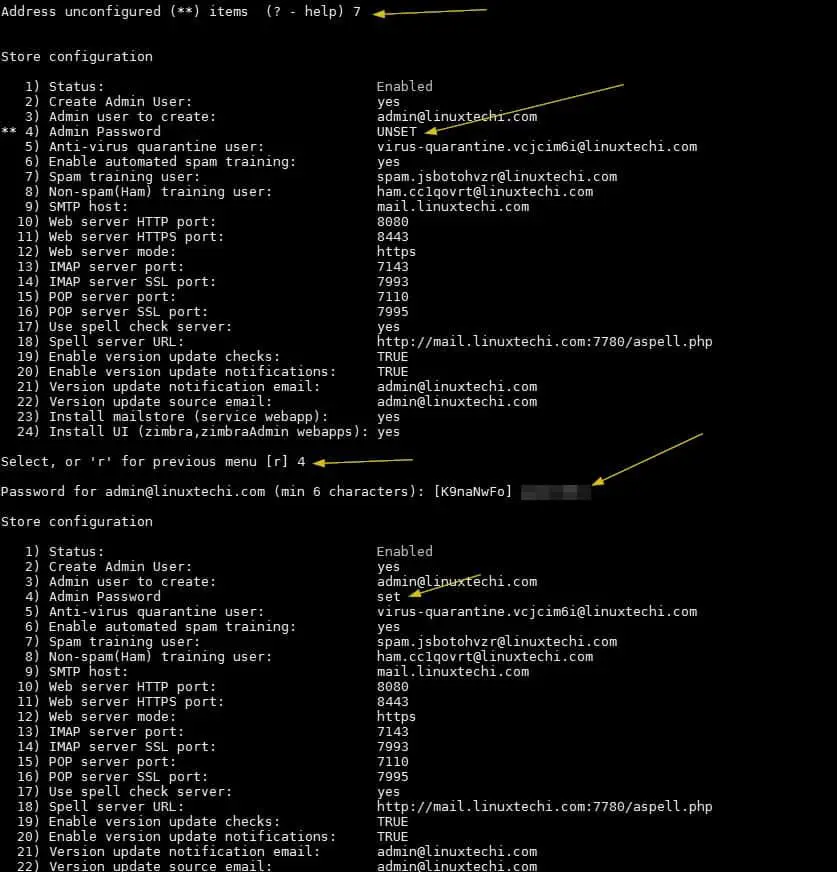
Now Press 7 and then 4 to set admin user password,
Now press “r” to go to previous menu and then press “a” to apply the changes.
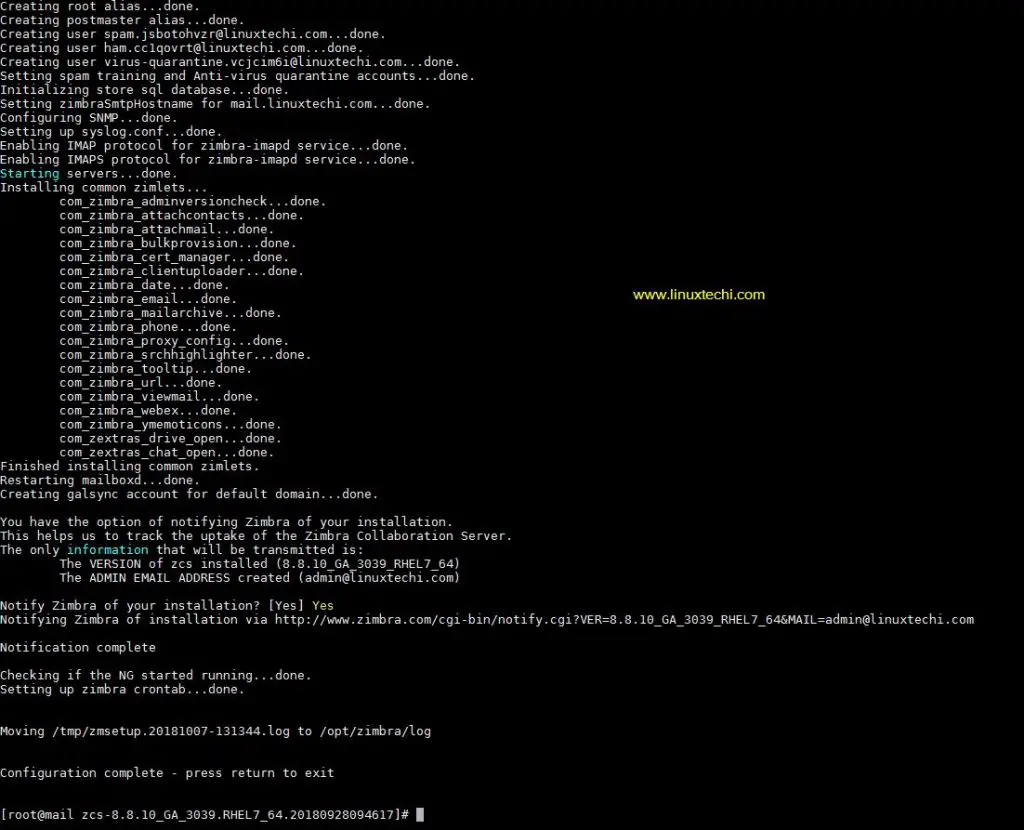
Once all the changes are applied and Zimbra related services are started then we will get the output something like below,
Open the ports in the firewall in case os firewall is running on your server
Step:5) Access Zimbra Admin Portal & Web Mail Client
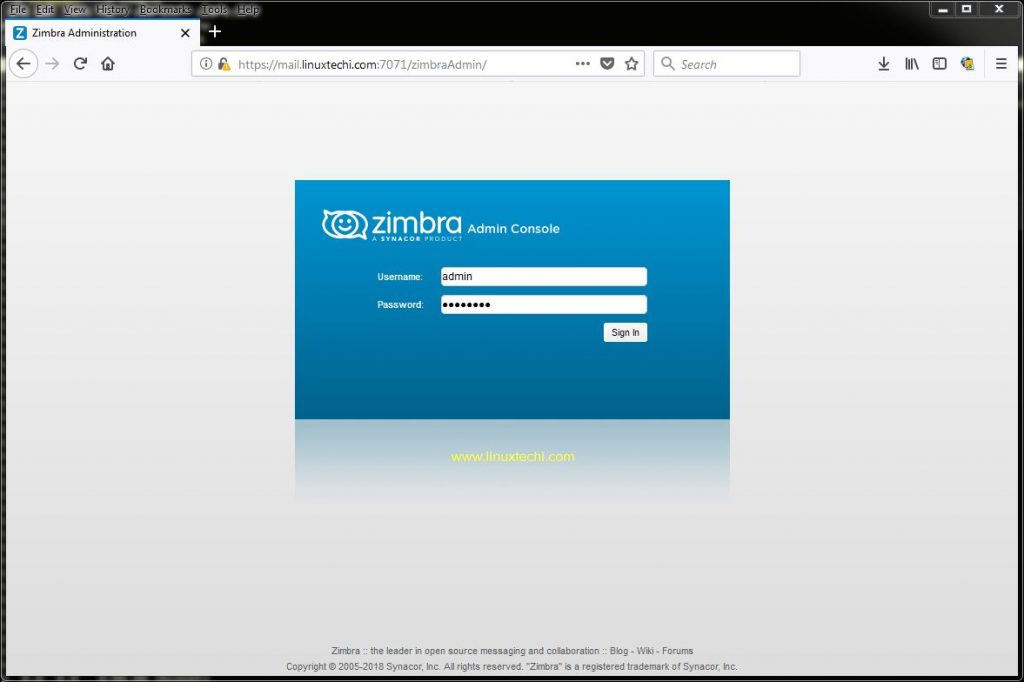
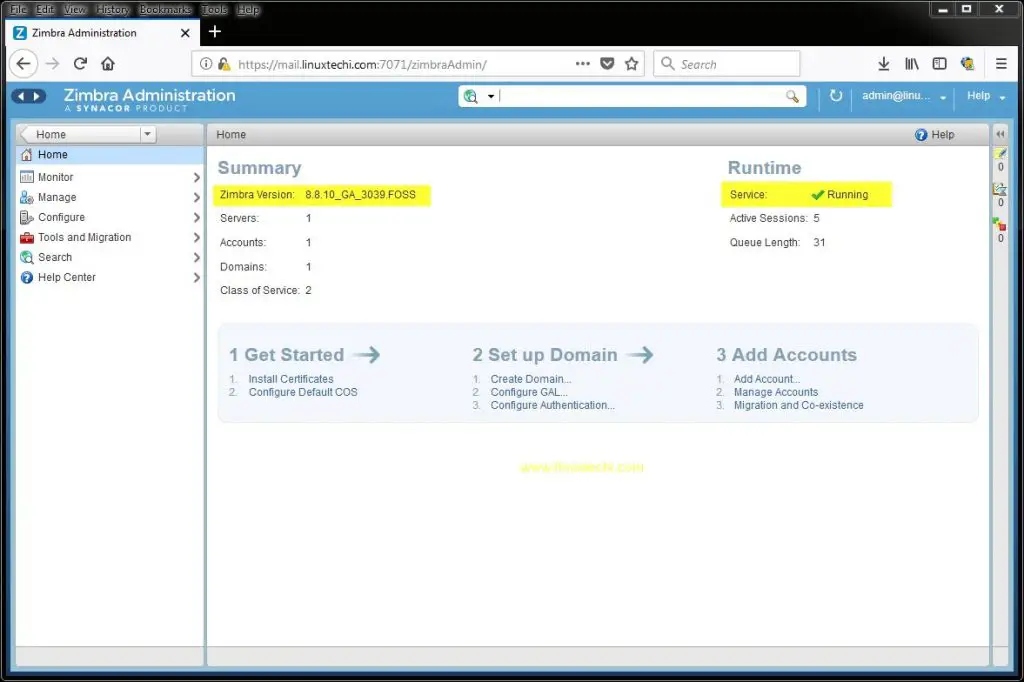
To access the Zimbra Admin Portal, type below URL in Web Browser
https://mail.linuxtechi.com:7071/
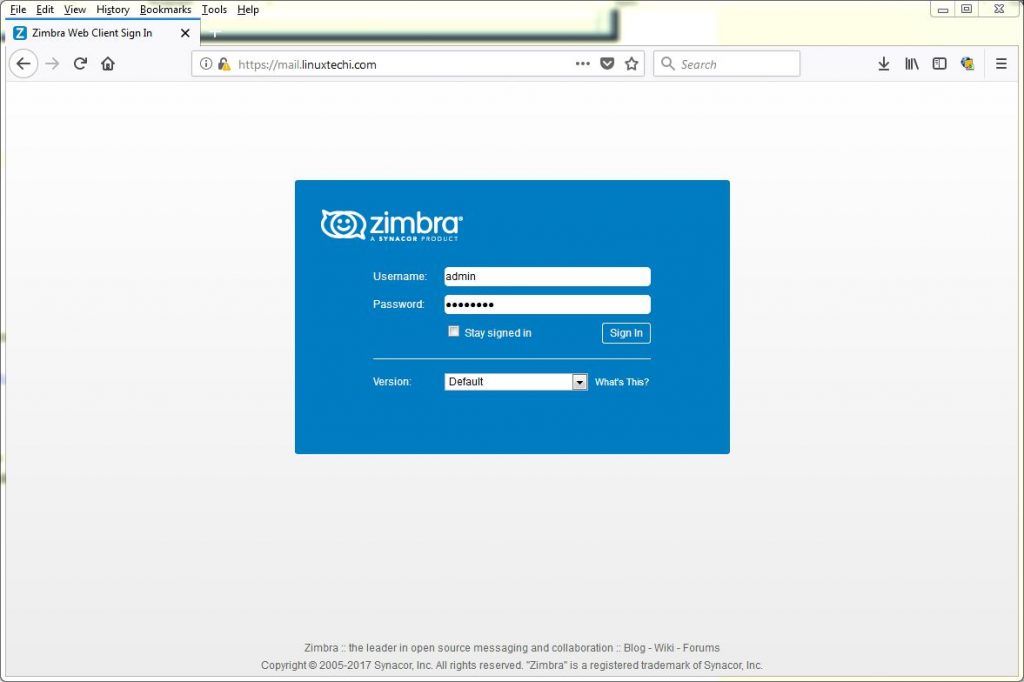
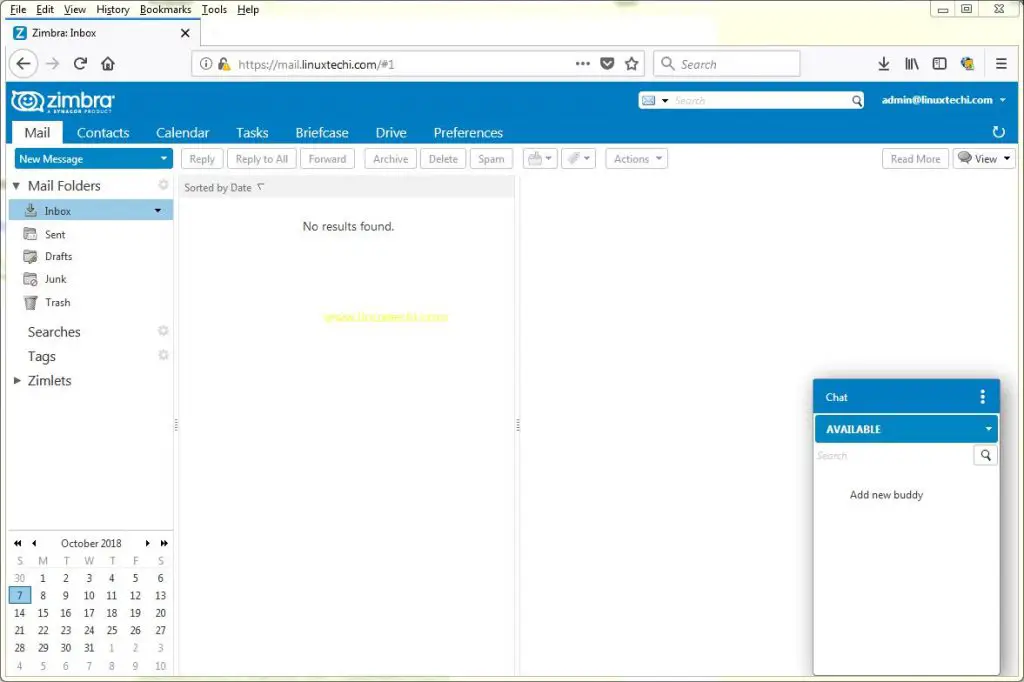
To access Zimbra Mail Web Client, type the following URL in the browser
https://mail.linuxtechi.com
Note: For both the URLs we can use user name as “admin” and password that we set during the installation
Step:6) Troubleshooting Zimbra Services and Logs
There can be some scenarios where some zimbra services might be stopped, to find zimbra services status from command line, run the following command,
To restart the Zimbra Services use the following command,
All the log files for Zimbra server are kept under the folder “/opt/zimbra/log”
Note: In my case postfix was already installed and running on my centos 7 server because of that Zimbra MTA service was getting stopped and failed. To resolve this issue, I have to stopped and disable the postfix service and then restart Zimbra service using the “zmcontrol” command.
When you are done with Zimbra testing and want to uninstall it from the system, then run the “install.sh” script followed by “-u”
That’s conclude this article. If you find it informative please do share this among your Linux technical friends and share the feedback and comments in the comment section below.
ความคิดเห็น
แสดงความคิดเห็น